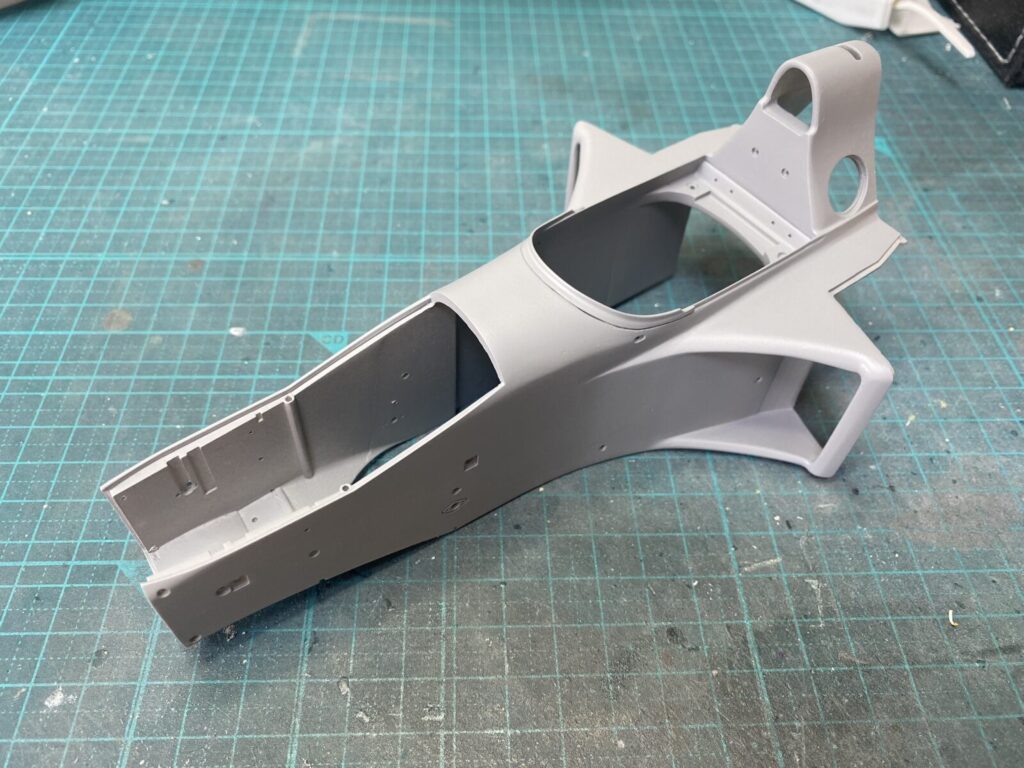
塗装前の下地としてグレーサフを吹き、表面を整えておきます。
Gray primer is applied to prepare and refine the surface before painting.

本体色のレッドの発色を良くするため、下地をピンクで塗装します。その後、ホコリが付かないようドライブースで乾燥・保管しておきます。
To enhance the brightness of the red body color, a pink base coat is applied.
The parts are then dried and stored in a drying booth to keep them free from dust.
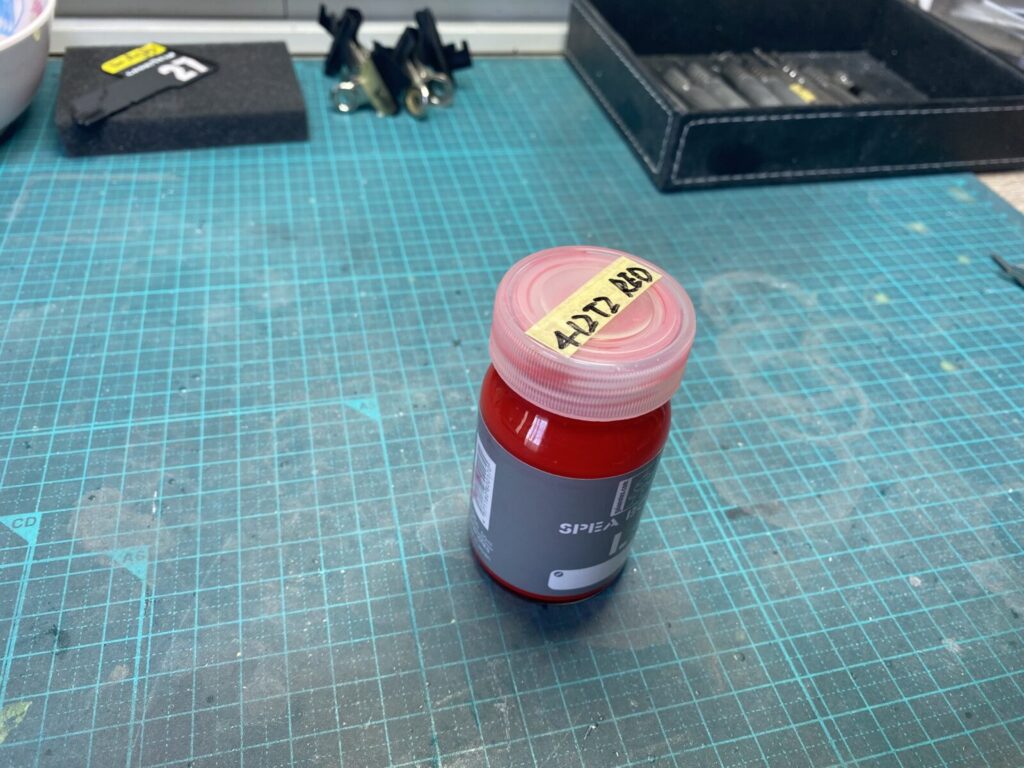
ボディカラーにはフィニッシャーズカラーを使用します。資料を参考にしながら調合を繰り返し、本体色(レッド)を作ります。
Finisher’s paints are used for the body color.
Referring to reference materials, the main body color (red) is mixed by repeatedly adjusting the paint ratio until the desired shade is achieved.
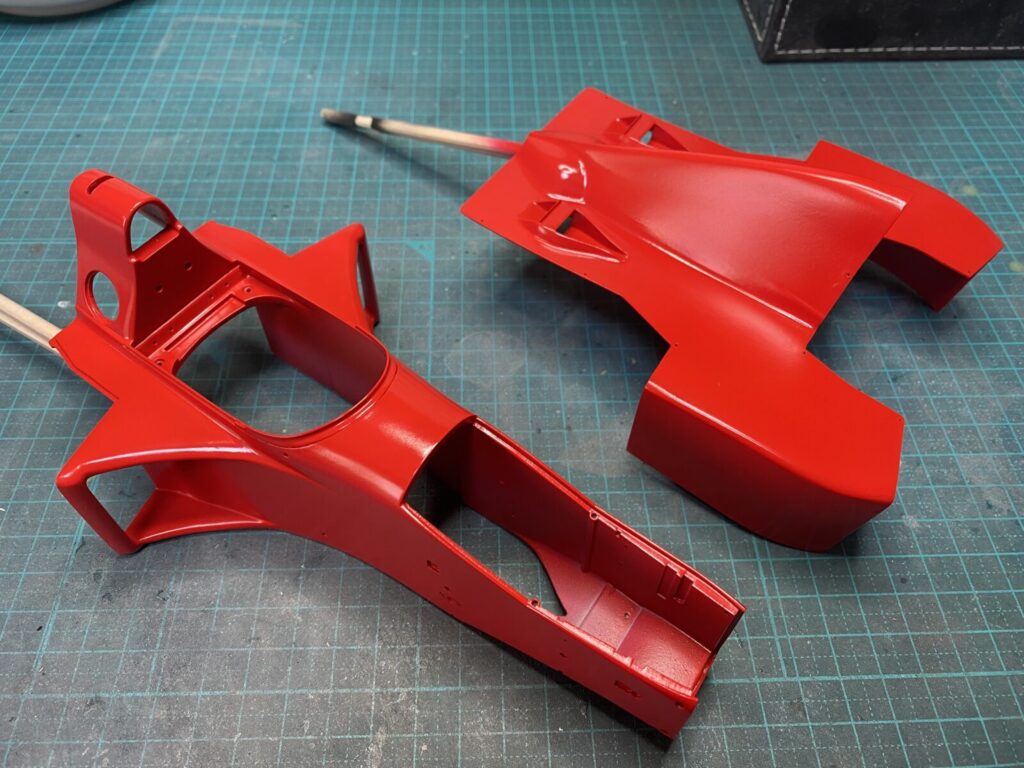
塗料を適切な濃度になるよう慎重に希釈します。
力の強いコンプレッサーと0.7mm口径のエアブラシを使用し、色ムラが出ないよう一度に吹き付けます。
塗装後はドライブースに入れ、完全に乾燥させます。
The paint is carefully thinned to the proper consistency.
Using a powerful compressor and a 0.7 mm airbrush, the paint is sprayed in one continuous pass to avoid uneven color.
After painting, the parts are placed in a drying booth and allowed to dry completely.
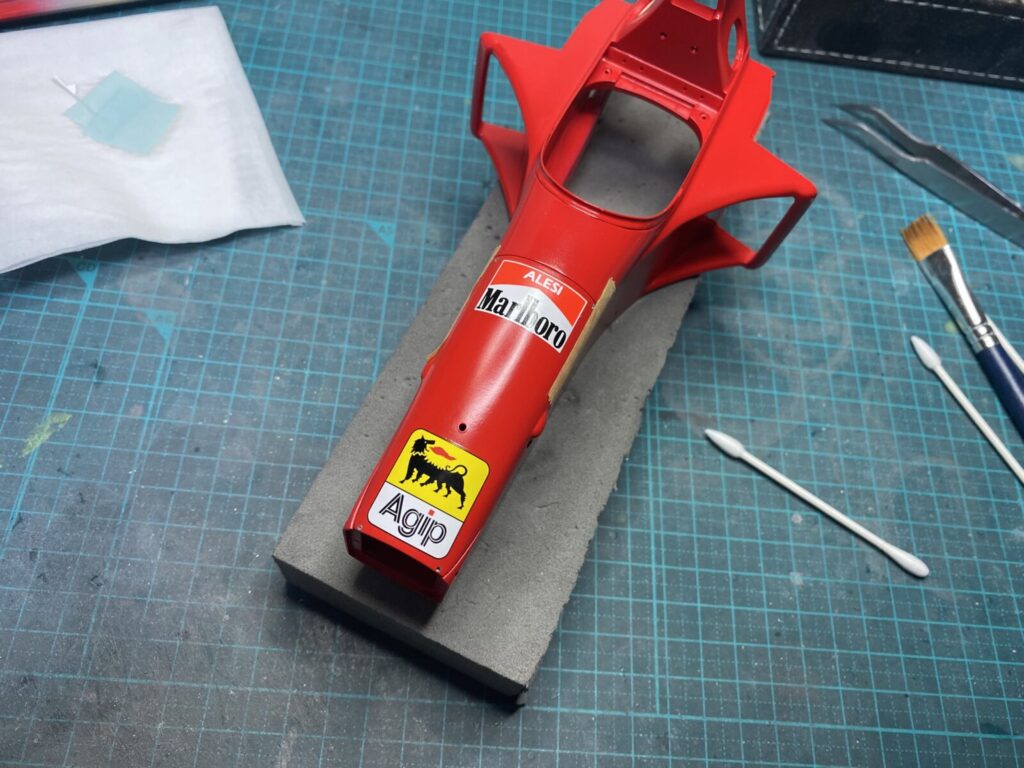
塗装が完全に乾燥したらデカールを貼っていきます。
曲面部分には必要に応じてデカール軟化剤やヒートガンを使用し、表面になじませます。
Once the paint has fully cured, the decals are applied.
For curved areas, decal softener and a heat gun are used as needed to help the decals conform to the surface.
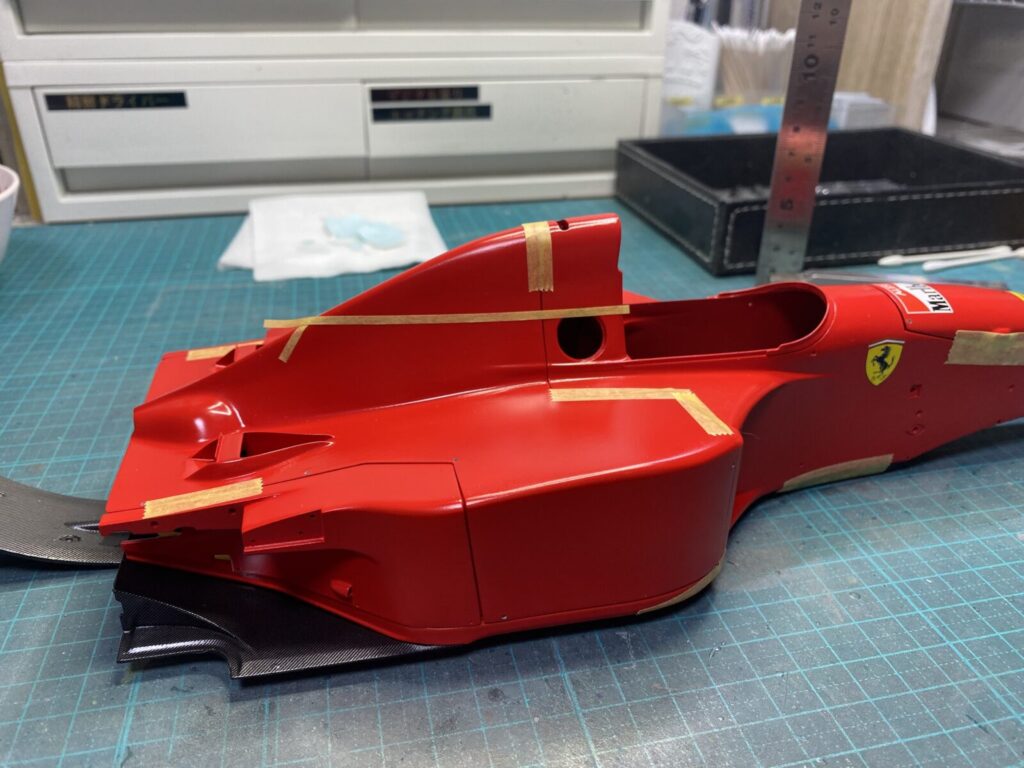
パーツ同士をマスキングテープで仮固定します。
また、水平や左右対称になるように位置合わせのガイドテープも貼っておきます。
The parts are temporarily secured with masking tape.
Guide tape is also applied to help align the decals so they remain level and symmetrical.
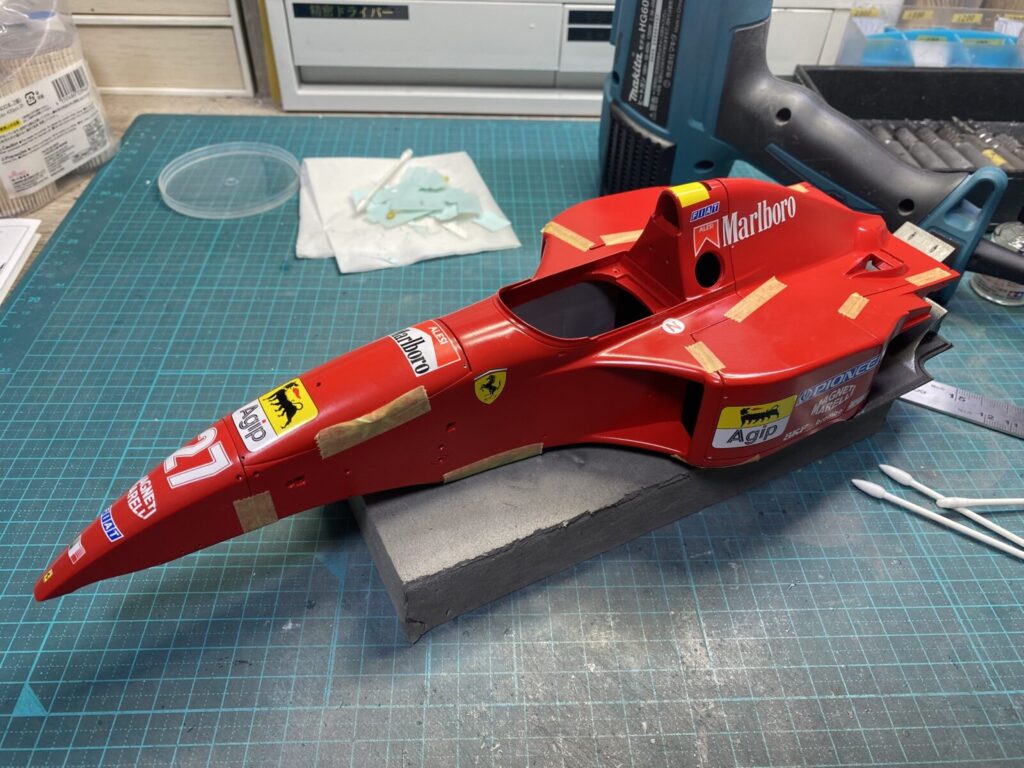
資料を参考にしながら正確な位置にデカールを貼っていきます。
Referring to reference materials, the decals are applied in their correct positions.
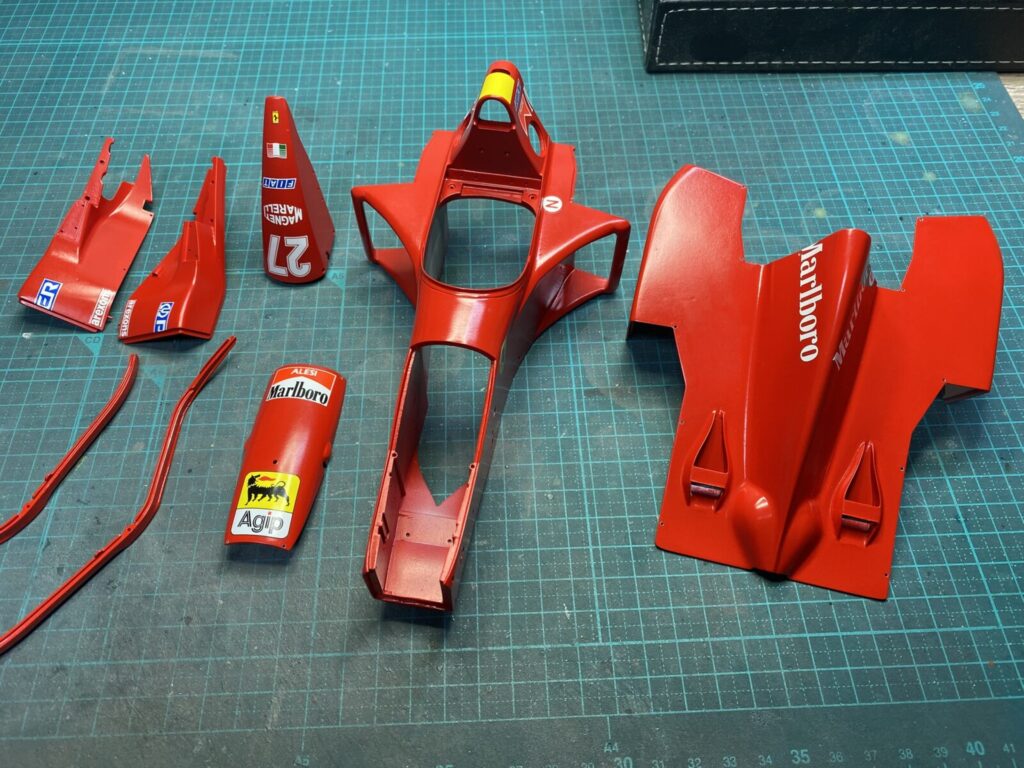
ボディ全体のデカールを貼り終えましたので数日間しっかり乾燥させます。
All decals on the body have now been applied, so the parts are left to dry thoroughly for several days.